Charred Peri Peri Roast Chicken
Butterflied roast chicken layered with Portuguese Peri Peri Sauce under the skin and over it, then roasted until juicy beneath a glossy, deeply caramelised coat. Fiery, garlicky and edged with char, it makes a generous centrepiece for summer gatherings and the Christmas table.
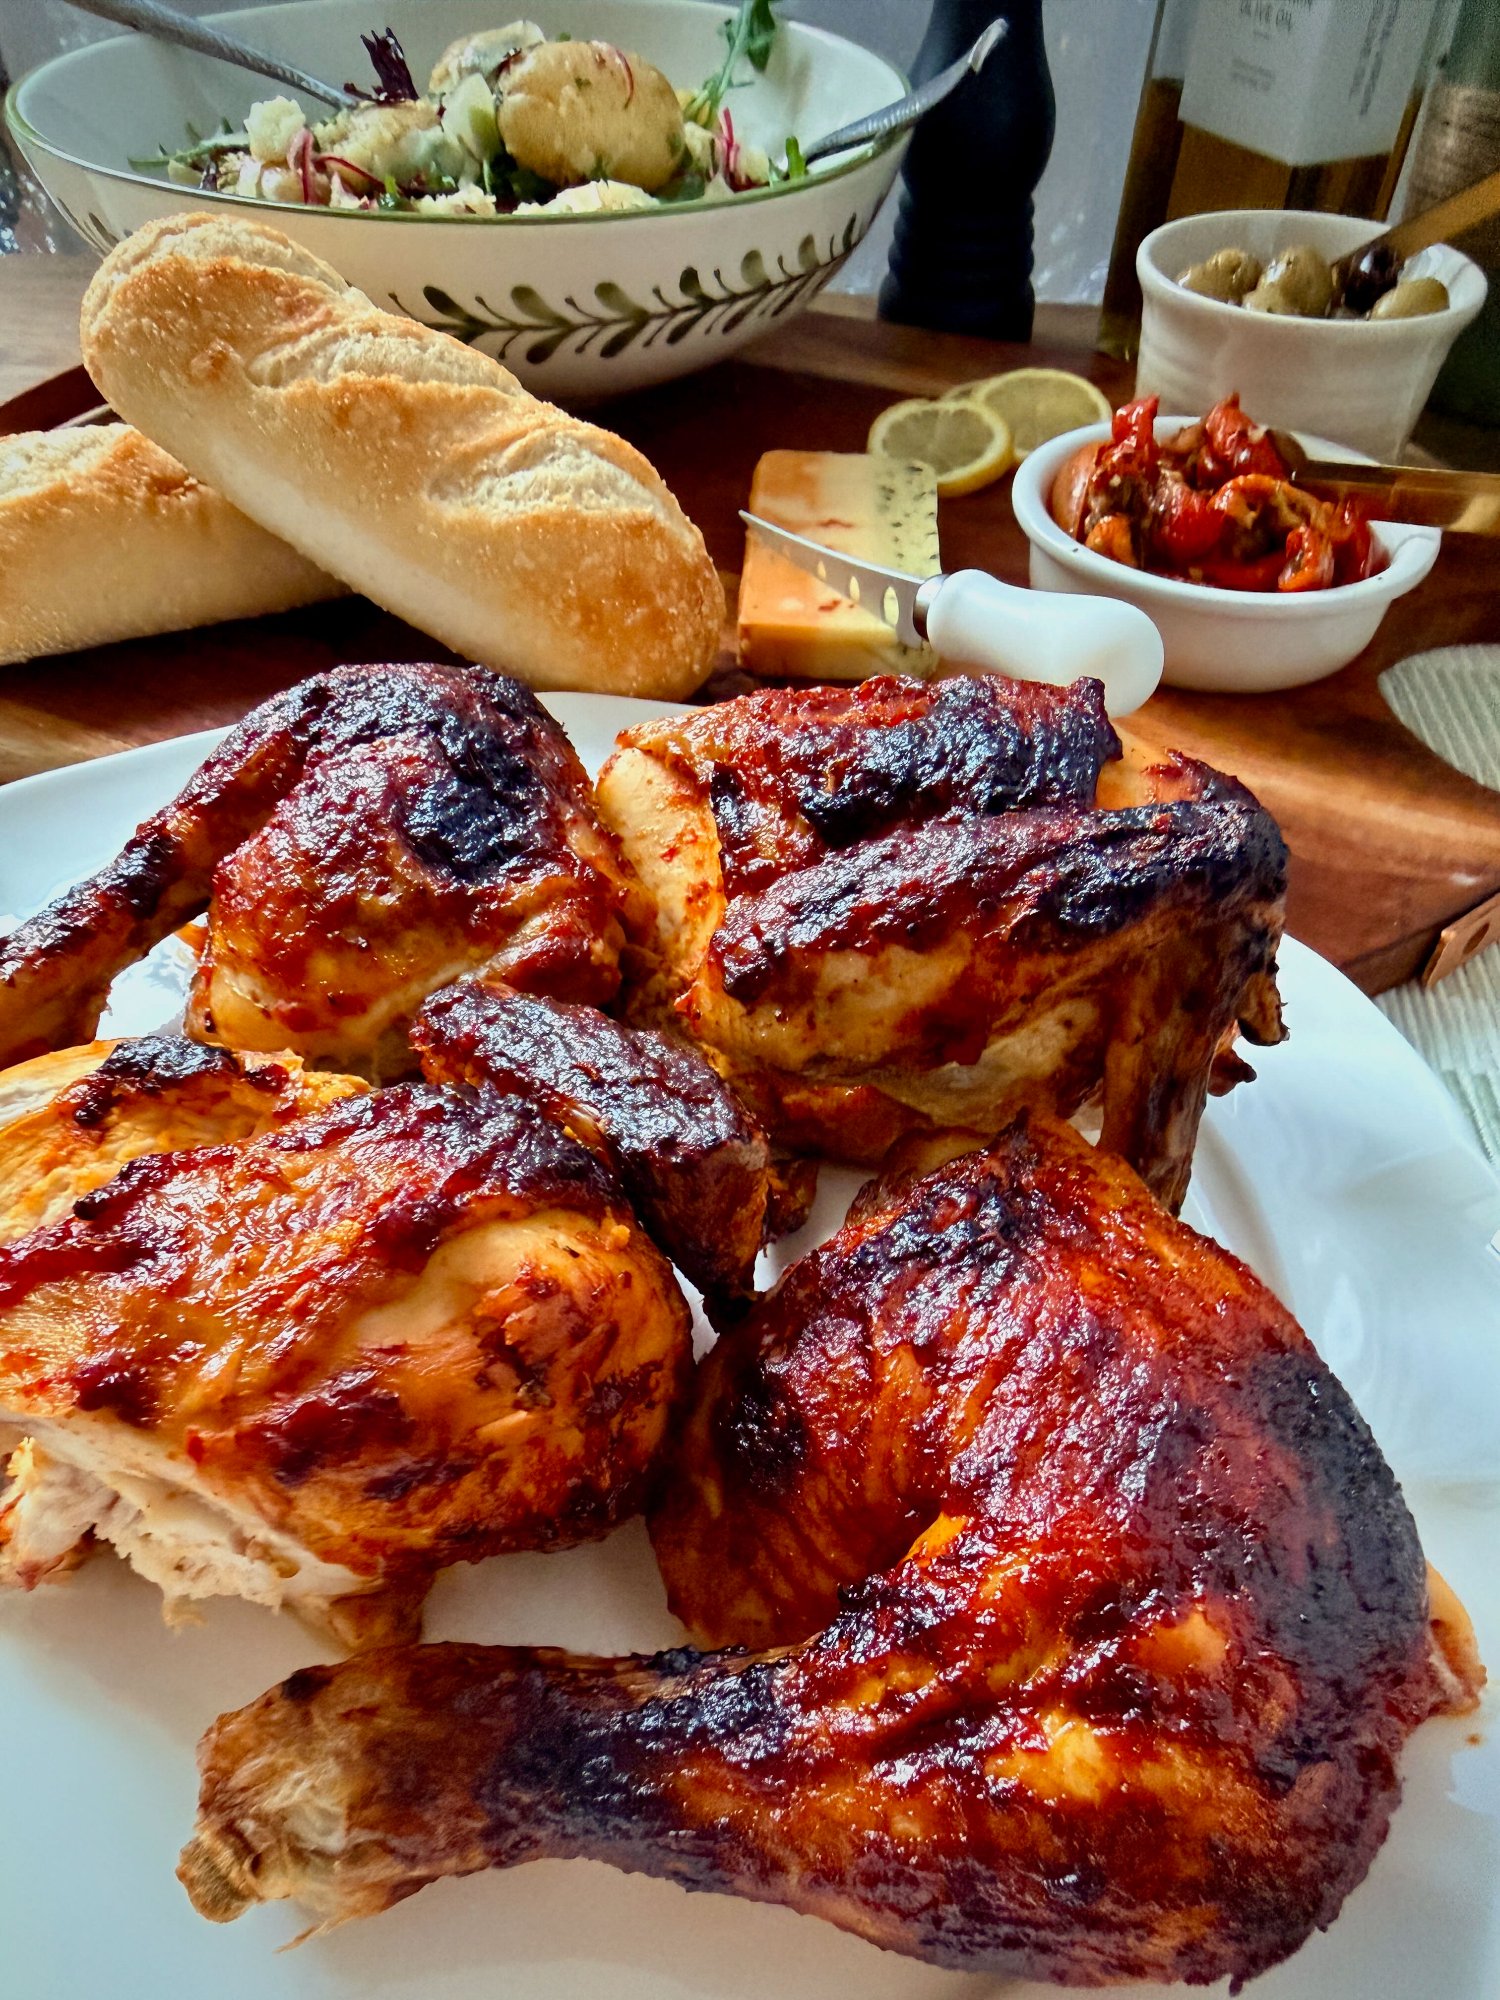
Peri peri chicken should come to the table glossy and red, dark at the edges, with the smell of chilli, garlic and char arriving a moment before the platter does. Getting it there asks for patience more than effort.
The first spoonfuls of sauce go under the skin, pressed right across the breast so the heat and garlic reach the meat itself rather than sitting on the surface. The outside waits until the skin has had time to render, then takes its glaze in two layers that darken and catch in the oven until the edges are almost black.
Carved onto a big platter with extra sauce alongside, it draws everyone in before the rest of the table is even set. It has earned its place at our Christmas lunch, and at plenty of ordinary summer weekends in between.
Prep: 15 min · Cook: 89 min · Serves: 6 · Cuisine: Portuguese · Category: Chicken
Ingredients
Charred Peri Peri Roast Chicken
- 1 whole chicken (1.4–1.8 kg), butterflied
- 3 Tbsp Portuguese Peri Peri Sauce, plus extra to serve
- Fine sea salt
Method
- Preheat the oven to 200°C fan forced. Pat the butterflied chicken thoroughly dry with paper towel.
- Carefully loosen the skin over the breasts without tearing it, working down towards the thighs and legs. Spoon some of the Portuguese Peri Peri Sauce underneath and gently spread it across the breast meat and as far towards the legs as you can reach.
- Pat the outside of the skin dry again and season lightly with fine sea salt. Place the chicken skin side up on a wire rack set over a roasting dish.
- Roast for 45 minutes without glazing, until the skin has rendered and turned lightly golden.
- Brush the skin generously with sauce, covering the breasts, thighs, drumsticks and wings. Return to the oven for 7 minutes.
- Brush with a second generous layer of sauce and return to the oven for 10 minutes. The glaze should now cling firmly and begin to caramelise on the raised areas.
- Check the temperature of the breast and the thickest part of the thigh. If the legs and thighs are cooked or colouring deeply while the breast needs more time, cover them loosely with foil, leaving the breast uncovered. Return to the oven for 10 minutes.
- Check the breast again and return to the oven for a further 10 minutes. Do not add more glaze from this point.
- Roast for up to 7 minutes more, only as long as needed for the thickest part of the breast to reach 75°C. The finished chicken should be glossy and deep red-orange, with dark charred patches around the edges and raised areas.
- Rest for 15 minutes, loosely tented with foil. Do not wrap it tightly, as trapped steam will soften the glazed skin. Carve and serve with extra sauce at the table.
Serving Suggestion
Use Portuguese Peri Peri Sauce as the glaze for Charred Peri Peri Roast Chicken, then keep the rest close by, because it rarely stays in the jar for long. Spoon it over Greek-Style Lemon Potatoes with Garlic & Oregano, tuck it into split Portuguese Bread Rolls (Papo Secos), or serve it on its own as a dip with crusty bread. It is also very good for breakfast, spread over toast with a fried egg and avocado in the style of Avocado Toast with Fried Egg, Feta & Peri Peri Oil. It also makes a very good Christmas centrepiece for a hot day, when a heavy roast feels like too much.
Make Ahead Notes
The Portuguese Peri Peri Sauce can be made up to a week ahead and kept chilled. On the day, warm the amount you need very gently so it spreads easily under the skin and brushes evenly over the chicken. The chicken can be butterflied a day ahead and kept covered in the refrigerator until shortly before cooking.
Notes
Temperature decides when the chicken is ready, not the clock. The size and shape of the bird, how cold it is going in and your own oven will all shift the timing, so treat the stages as a guide and trust your thermometer.
The legs and thighs almost always finish before the breast. A loose foil cover lets the breast catch up without drying out the dark meat or taking it past charred into bitter.
Letting the skin render before any glaze goes on gives the sauce a dry, firm surface to cling to, and that is what builds the lacquered finish.
Two coats is enough. More sauce after that turns thick and sweet rather than caramelised.
The deep mahogany and almost-black patches are part of the recipe. They carry the charred flavour that sets off the bright sauce underneath.
Storage Notes
Store leftover chicken in an airtight container in the refrigerator for up to 3 days. Reheat gently in the oven, or serve it cold in wraps and salads with a spoonful of extra sauce.
The Grace Table Tip
Spoon the 3 tablespoons you need for glazing into a separate bowl before you start working with the raw chicken. The rest of the batch stays clean for spooning over potatoes, tucking into bread rolls or passing around with the carved chicken.